Build Self-Sufficiency One Small Project at a Time
A more self-sufficient home does not require a large property, expensive equipment, or a complete lifestyle overhaul. Small DIY projects can help you use resources more carefully, produce some of your own food, and prepare for everyday disruptions.
Start with a project that addresses a current need, such as high water use, food waste, or limited garden space. Check local building codes, utility rules, and neighborhood restrictions before installing permanent structures or water systems.
1. Install a Rain Barrel
A rain barrel collects runoff from a roof so it can be used later for gardens and outdoor cleaning. Choose a food-grade barrel or a purpose-built rainwater tank, and position it on a stable, level base near a downspout.
- Add a screened inlet to keep out leaves and insects.
- Install a spigot near the bottom for filling watering cans.
- Direct the overflow away from your foundation.
- Use a secure lid, especially around children and pets.
Untreated roof runoff is generally best reserved for nonpotable uses. Local rules may regulate rainwater collection, and certain roofing materials may make the water unsuitable for edible crops.
2. Build a Simple Compost Bin
Composting turns kitchen scraps and yard waste into a useful soil amendment. Create an inexpensive bin from untreated pallets, hardware cloth, or a lidded trash can with ventilation holes.
Add a mixture of nitrogen-rich materials, such as fruit scraps and fresh grass, and carbon-rich materials, such as dry leaves, shredded cardboard, and small twigs. Keep the pile as damp as a wrung-out sponge and turn it occasionally. Avoid adding meat, dairy products, fats, pet waste, or diseased plants to a basic backyard pile.
3. Make a Self-Watering Planter
A self-watering planter stores water below the soil, reducing daily watering and helping containers stay evenly moist. Start with two nesting food-safe buckets or a sturdy storage tote. Create a lower reservoir, add an overflow hole, and use a perforated cup or fabric wick to draw moisture into the potting mix.
Include a fill tube that reaches the reservoir and cover exposed water to discourage mosquitoes. These planters work well for leafy greens, peppers, herbs, and compact tomato varieties. Check the reservoir regularly rather than assuming it will remain full.
4. Construct a Raised Garden Bed
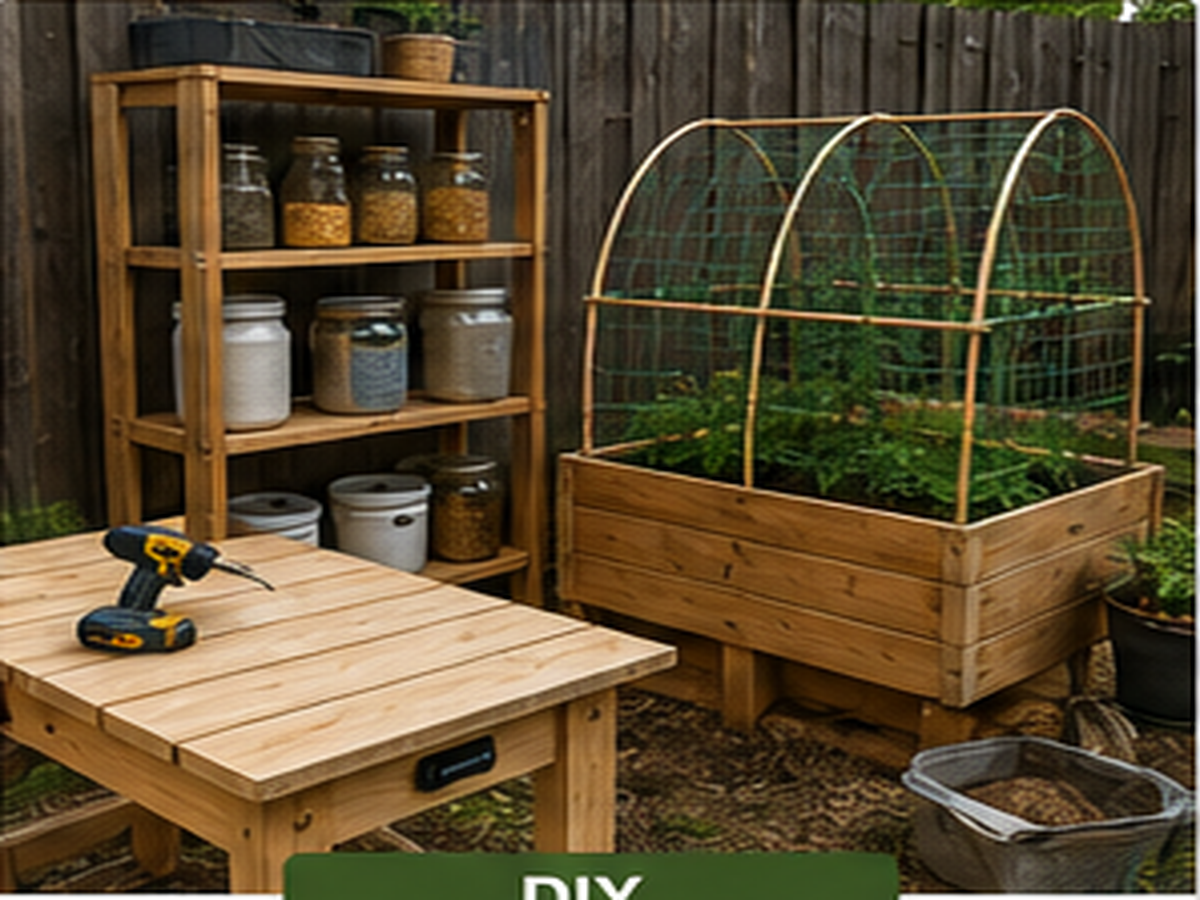
A raised bed makes it easier to improve soil, control weeds, and grow food in a small area. Build a simple frame from untreated, naturally rot-resistant lumber, metal panels designed for gardening, or masonry blocks approved for landscape use.
Place the bed where it will receive appropriate sunlight and where you can reach the center without stepping on the soil. Fill it with a quality blend of topsoil and finished compost. A bed planted with greens, beans, radishes, herbs, or other productive crops can supplement groceries throughout the growing season.
5. Turn a Window Into an Herb Garden
Even a home without a yard can produce fresh ingredients. Mount a secure shelf near a bright window or arrange small pots in a waterproof tray. Good indoor choices include chives, parsley, mint, thyme, and basil.
Use containers with drainage holes and avoid letting pots sit in water. If natural light is limited, install an energy-efficient grow light on a timer. Keep mint in its own container because its spreading roots can crowd out other plants.
6. Assemble a Seed-Starting Station
Starting plants from seed can expand your choice of varieties and reduce reliance on nursery seedlings. A basic station needs a washable shelf, shallow trays, seed-starting mix, plant labels, and an adjustable LED shop or grow light.
Position the light according to the manufacturer’s guidance and raise it as seedlings grow. A small fan on a low setting can improve air movement, but it should not dry the mix too quickly. Clean reused containers before planting, and harden seedlings off gradually before moving them outdoors.
7. Build a Cold Frame
A cold frame is a low, covered box that captures solar warmth and protects plants from wind and light frost. Make the frame from untreated lumber or reclaimed bricks, then top it with an old storm window or a clear polycarbonate panel.
Face the sloped lid toward the south when practical, and use a prop to vent the frame on warm days. Temperatures can rise rapidly even in cool weather, so place a thermometer inside and check it regularly. A cold frame can help harden seedlings and extend the season for hardy greens.
8. Create an Indoor Clothes-Drying Rack
Air-drying clothing reduces dependence on an electric or gas dryer. Build a folding rack from smooth wooden dowels and side supports, or install retractable clotheslines in a laundry room. Anchor wall-mounted components into studs or suitable hardware so they can support wet fabric.
Space clothing to allow airflow, and use ventilation or a dehumidifier if indoor moisture becomes a problem. Drying racks are especially useful for lightweight garments and items that might be damaged by high dryer heat.
9. Sew Draft Stoppers and Insulated Curtains
Simple fabric projects can reduce uncomfortable drafts around doors and windows. Make a door draft stopper from a fabric tube filled with washable textile scraps, rice, or commercial filling. Keep loose fillings securely enclosed and away from moisture and pests.
For windows, add a removable thermal lining to existing curtains or sew insulated panels that extend beyond the frame. Curtains should never cover heaters, vents, or other heat sources. Weatherstripping and caulk may still be needed to address the underlying air leaks.
10. Organize a Working Pantry System
A well-managed pantry helps a household rely on food already on hand and reduces waste. Install sturdy shelves, then group staples in labeled, food-safe containers. Add a simple inventory sheet to track quantities and use-by dates.
- Place newly purchased items behind older ones.
- Store food in a cool, dry location away from direct sunlight.
- Keep frequently used ingredients at eye level.
- Inspect packages for moisture, damage, or pests.
- Stock foods your household already knows how to prepare.
This system is more useful than buying large amounts of unfamiliar food. Expand gradually, and follow reliable food-storage guidance for any home-canned products.
How to Choose Your First Project
Consider your budget, available space, local climate, and the amount of maintenance you can manage. Renters may prefer portable planters, drying racks, and pantry upgrades, while homeowners might begin with rainwater collection or a permanent garden bed.
Complete one project, observe how it works, and improve it before adding another. Self-sufficiency develops through practical skills and dependable routines, not a single purchase. Over time, these modest systems can make your home more resourceful, resilient, and less wasteful.