Build Skills, Reduce Household Costs
You do not need to become a professional contractor to save money through DIY projects. Many common household problems can be prevented or resolved with basic tools, careful research, and a little practice. The greatest savings often come from routine maintenance: fixing small issues before they turn into expensive damage.
Safety should always come first. Wear appropriate protective equipment, follow product instructions, and know when a job requires a licensed professional. Electrical service panels, major gas repairs, structural changes, and extensive plumbing work are generally not good beginner projects.
1. Patch Small Holes in Drywall
Nail holes, dents, and minor drywall damage are relatively simple to repair. Small holes may need only lightweight spackle, a putty knife, sandpaper, and matching paint. Larger holes can be covered with a mesh patch before applying joint compound.
Apply thin layers rather than one thick coat, allow each layer to dry, and sand the area smooth. Learning this skill can help you avoid service calls whenever you move artwork, replace shelving, or repair everyday wall damage.
2. Paint Walls and Trim
Interior painting is one of the most accessible ways to refresh a room. Good results depend more on preparation than speed. Clean the surface, fill holes, protect floors, remove outlet covers, and use painter's tape where needed.
Choose the correct roller nap for the wall texture and use an angled brush for edges and trim. Store leftover paint in a sealed, labeled container for future touch-ups.
3. Fix a Running Toilet
A toilet that runs intermittently can waste water and increase utility bills. Common causes include a worn flapper, an incorrectly adjusted float, or a faulty fill valve. These parts are inexpensive and often require only basic hand tools to replace.
Turn off the toilet's water supply before working inside the tank. If water is leaking around the base or the floor feels soft, stop using the toilet and investigate promptly, as the problem may be more serious.
4. Clear Simple Drain Clogs
Before paying for drain service, remove visible debris and try a sink plunger or manual drain snake. In bathroom sinks, hair and soap buildup often collect around the stopper. Cleaning the stopper and trap can restore normal drainage.
Avoid repeatedly pouring harsh chemical cleaners into pipes. They may damage some plumbing materials and create hazards for anyone who later opens the drain. Persistent clogs, sewage odors, or backups affecting multiple fixtures may indicate a larger problem.
5. Repair a Leaky Faucet
Many dripping faucets need a new washer, O-ring, cartridge, or valve component. Identify the faucet brand and model when possible so you can purchase the correct replacement part. Shut off the water under the sink, plug the drain to catch small pieces, and photograph each stage of disassembly.
A slow drip may seem minor, but repairing it can conserve water and prevent stains or mineral buildup.
6. Replace Caulk
Cracked or missing caulk allows moisture into gaps around tubs, showers, sinks, windows, and backsplashes. Remove deteriorated caulk, clean the surface, and let it dry completely before applying a product designed for that location.
Use a steady bead and smooth it according to the manufacturer's directions. Good caulking helps reduce drafts and protects vulnerable areas from water damage.
7. Maintain Gutters and Downspouts
Clogged gutters can send rainwater behind siding, over walkways, or toward the foundation. Clean gutters periodically, particularly after leaves have fallen or following severe storms. Confirm that downspouts are open and discharge water away from the house.
Use a stable ladder on firm ground and avoid working alone when possible. For high, steep, or difficult rooflines, hiring an insured professional is the safer choice.
8. Find and Seal Air Leaks
Gaps around windows, doors, attic openings, and utility penetrations can make heating and cooling less efficient. Replace damaged weatherstripping, adjust door sweeps, and seal suitable gaps with caulk or expanding foam rated for the application.
Do not block intentional ventilation openings, appliance clearances, or combustion-air pathways. Focus on obvious drafts and follow local building and fire-safety requirements.
9. Replace HVAC Filters
Checking heating and cooling filters is an easy maintenance habit. A dirty filter can restrict airflow and contribute to poor system performance. Use the filter size and type recommended by the equipment manufacturer, and note the replacement date on the frame.
Replacement frequency depends on the system, filter, pets, dust levels, and household conditions. Inspect the filter regularly rather than relying on a universal schedule.
10. Handle Basic Appliance Maintenance
Routine cleaning may extend appliance life and prevent unnecessary service calls. Vacuum accessible refrigerator coils if the manual recommends it, clean dryer lint from approved areas, descale compatible appliances, and inspect washing-machine hoses for bulges or cracks.
Unplug appliances before maintenance and follow the owner's manual. Never remove safety panels or work around stored electrical energy unless you are properly trained.
11. Make Simple Furniture Repairs
Loose chair joints, wobbly tables, and sticking drawers do not always require replacement. Tighten fasteners, replace missing hardware, lubricate drawer slides with an appropriate product, or reglue suitable wood joints with clamps.
Examine the furniture first. Split structural parts may need professional repair, especially on chairs, ladders, or other items that must safely support weight.
12. Sew Basic Repairs
Hand-sewing skills can keep clothing, curtains, cushions, and reusable household items in service longer. Learn how to sew on a button, close a small seam, apply a patch, and make a simple hem.
A basic kit needs only needles, several thread colors, pins, small scissors, and a seam ripper. Practice on scrap fabric before repairing a valuable item.
13. Sharpen and Maintain Tools
Well-maintained tools work more effectively and are often safer than dull or damaged ones. Learn to sharpen garden pruners and basic blades using the correct file or sharpening tool. Clean dirt from tools, dry metal surfaces, lubricate moving parts, and store everything in a protected location.
Different blade angles require different methods. Follow the manufacturer's guidance, wear eye protection, and replace cracked handles or damaged tools.
14. Install Shelves and Wall Hardware
Installing shelves, hooks, curtain rods, and similar hardware can eliminate small handyman charges. Learn to use a tape measure, level, drill, stud finder, and the correct anchors for your wall material.
Consider the expected load and fasten heavy items into studs or suitable structural support. Check for hidden wiring and plumbing before drilling, especially near outlets, switches, bathrooms, and kitchens.
15. Perform Seasonal Home Inspections
Inspection is a DIY skill because spotting trouble early can prevent costly repairs. Walk around your home every season and look for roof damage visible from the ground, peeling paint, foundation changes, damaged seals, dripping pipes, pest entry points, and moisture stains.
Keep a dated checklist with photographs. Monitor minor changes and arrange professional evaluation when you find active leaks, significant cracks, electrical odors, mold growth, or structural movement.
Start Small and Build a Practical Toolkit
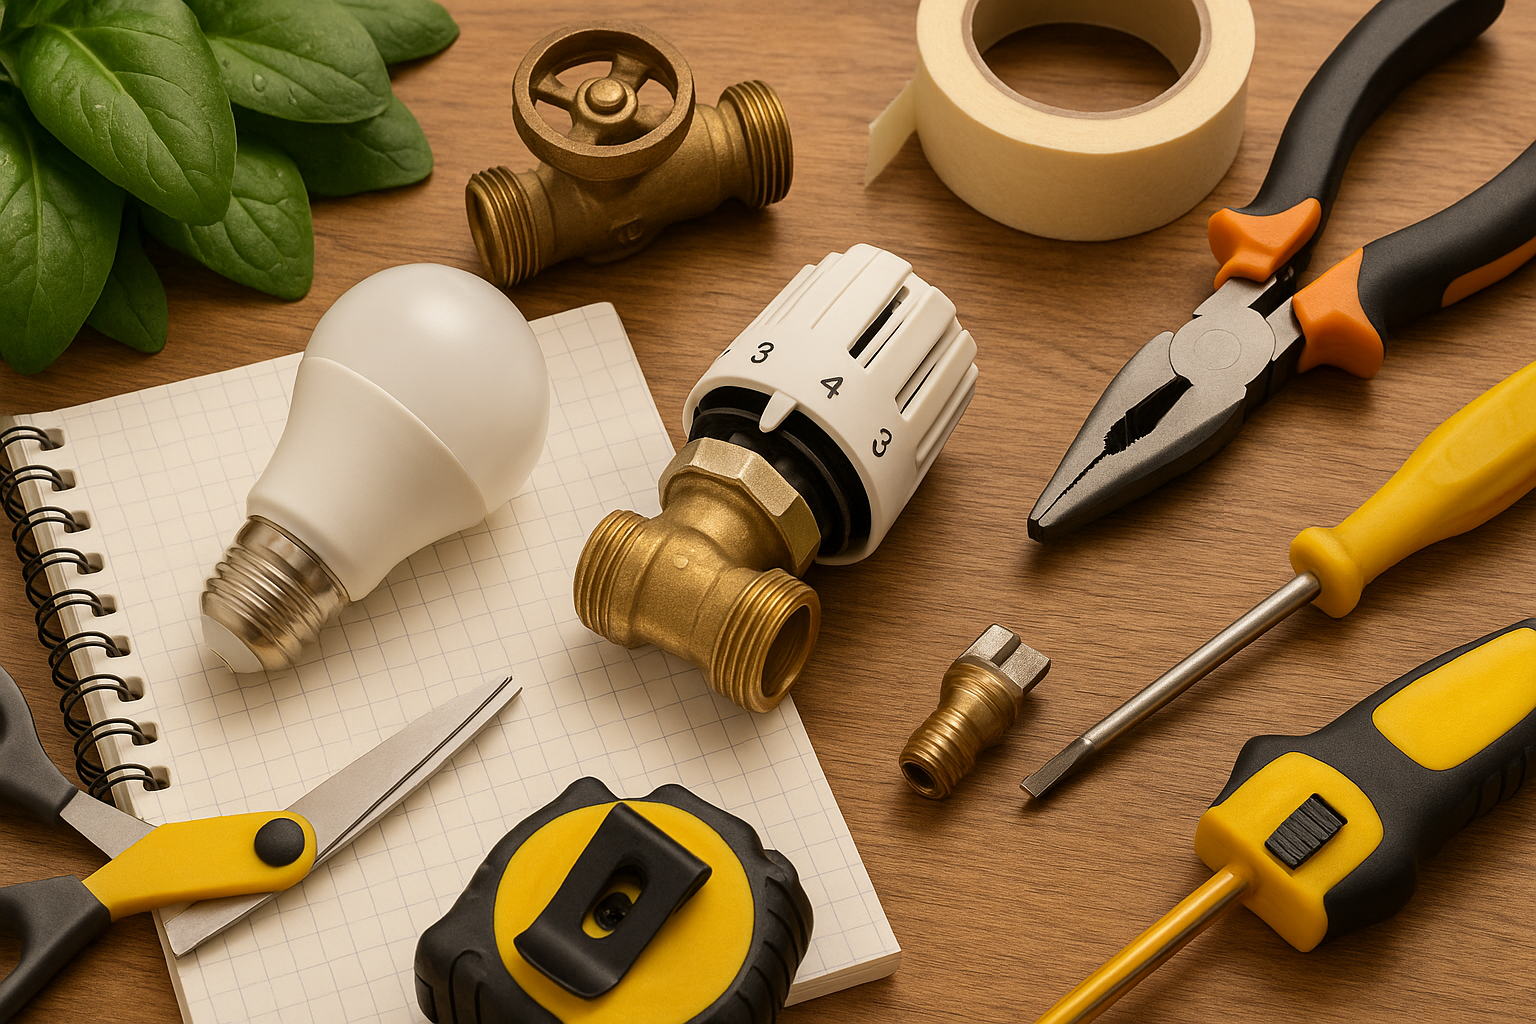
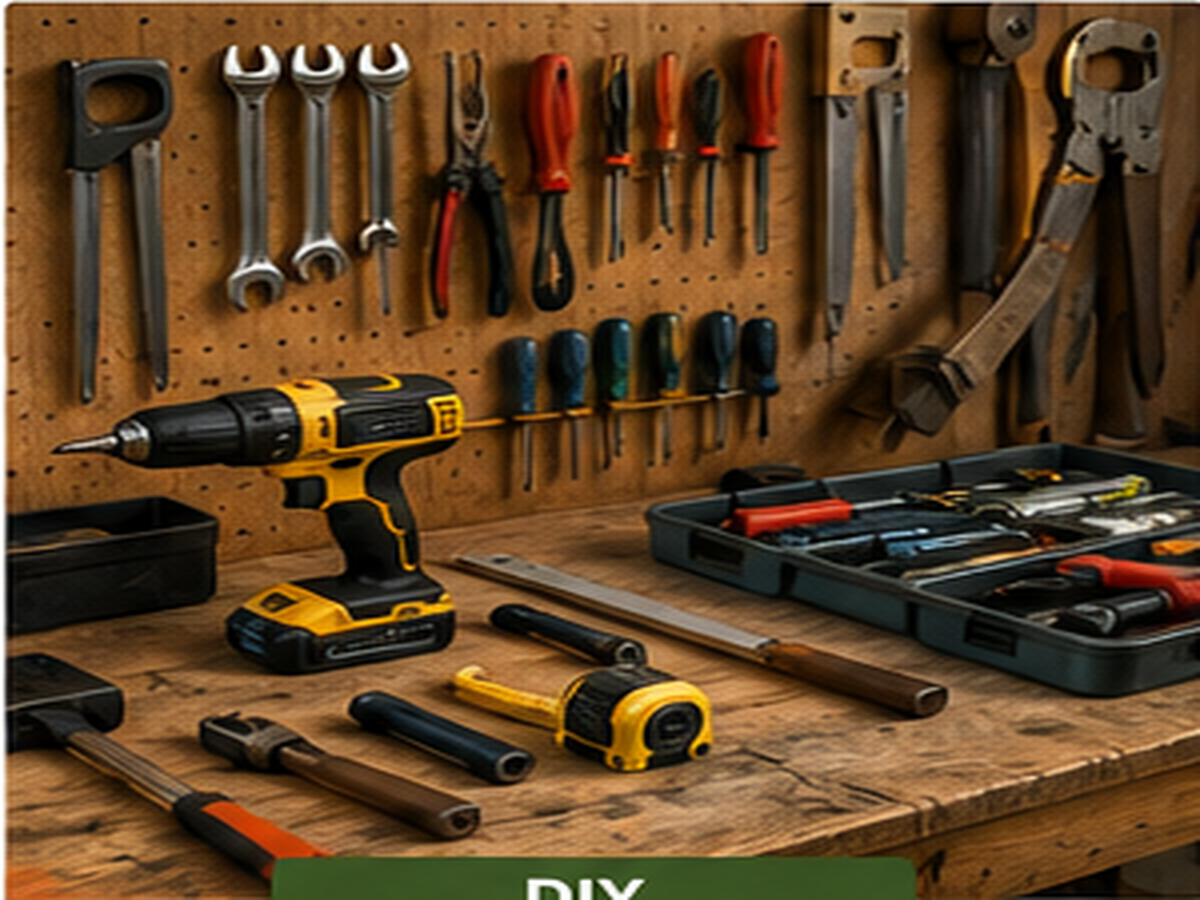
Begin with low-risk projects and buy tools as you need them. A useful starter kit may include screwdrivers, adjustable pliers, a hammer, tape measure, utility knife, level, putty knife, flashlight, safety glasses, work gloves, and a cordless drill.
The goal of DIY is not to handle every repair yourself. It is to become capable of maintaining your home, recognizing problems, and making informed decisions. With patience and consistent practice, these skills can reduce routine expenses while helping your home stay functional and well cared for.